
ESSENTIALS: How to Wheelie a Mountain BIke
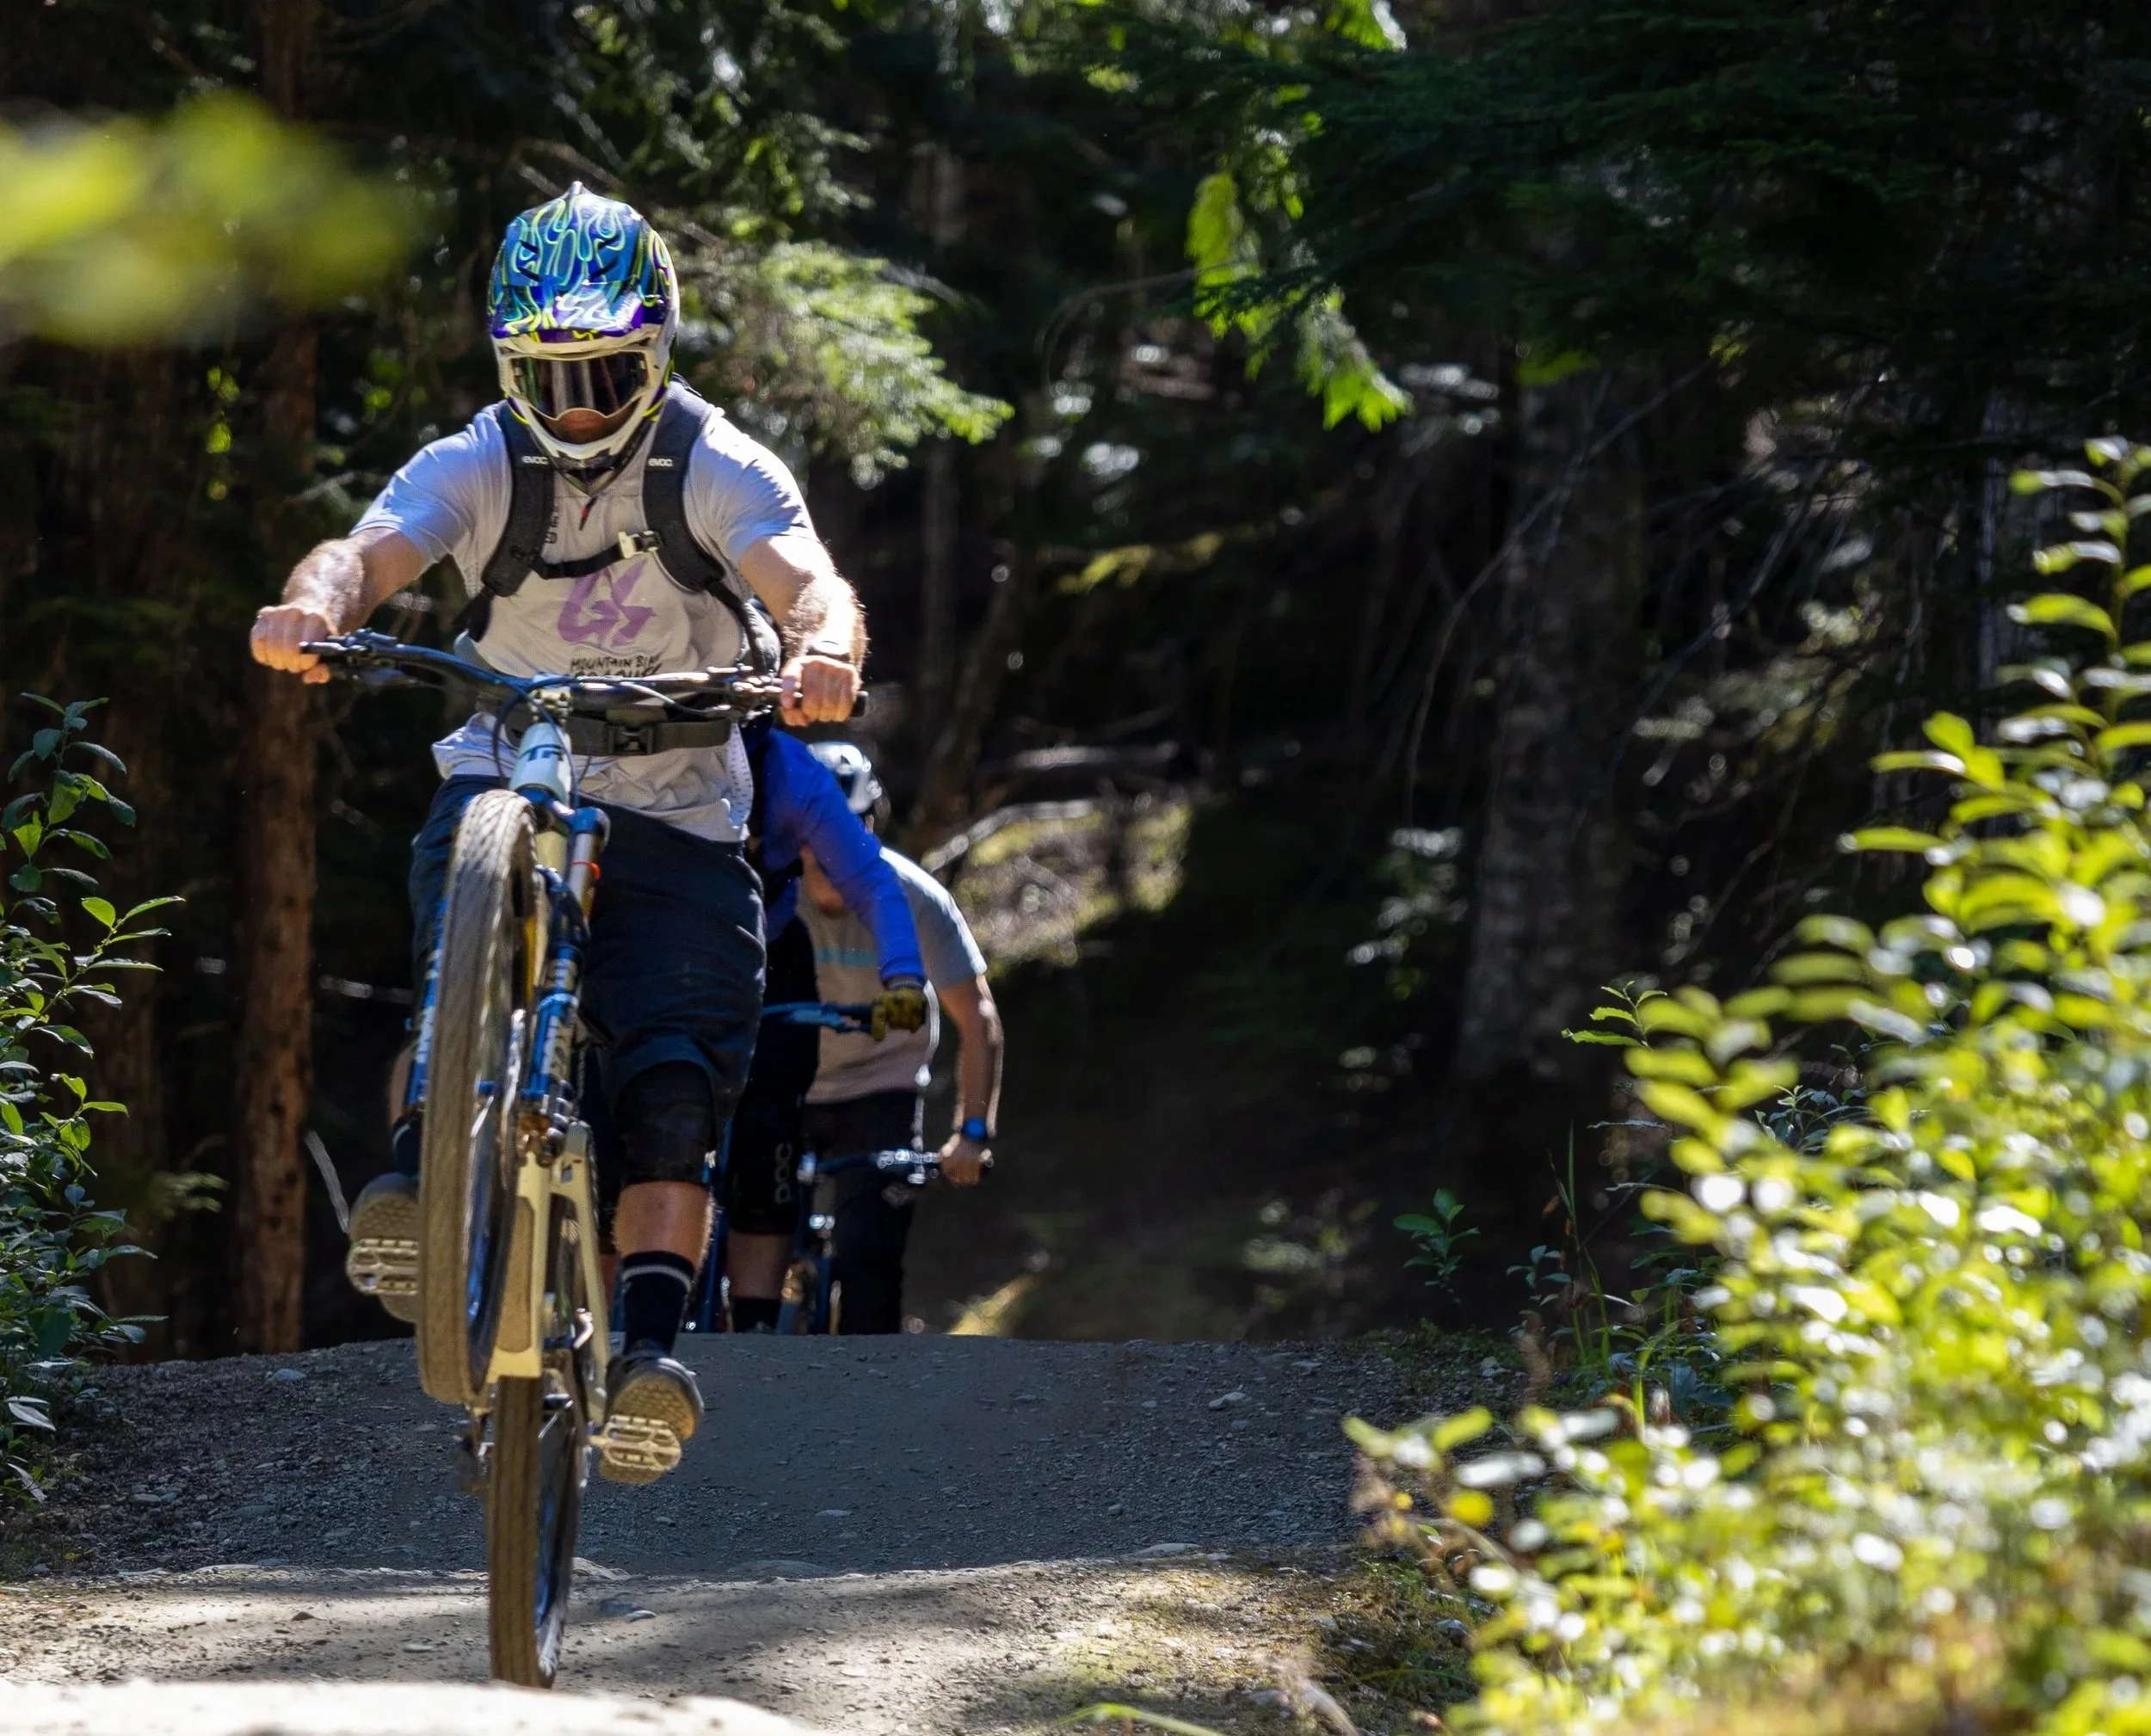
Wheelie on a trail.
This is the first piece in GSMBC Essentials, where we answer the questions riders ask most often online. Each entry takes a common topic, breaks it down in plain language, and gives you a clear, practical reference you can put to use the next time you ride. Built on coaching fundamentals; written for anyone with a bike.
Every rider who has tried to wheelie down a driveway and ended up sitting on the pavement already knows what makes this skill humbling: it looks easier than it is. A good wheelie requires coordinated input from the legs, the hips, the arms, and the brakes, all inside a window of balance that's narrower than most riders expect, which is why so many self-taught attempts stall at a two-second lift before the front wheel slams back down.
It's also one of the most useful skills you can own, because the ability to lift the front wheel on demand is what lets you roll through rooty sections without getting bucked, clear small ledges without a hop, and stay smooth on the trail features that punish riders who can't unweight the front. This guide walks through the two versions of the skill (pedal wheelie and manual), how to build each one the way GSMBC coaches teach it, the mistakes that stall most riders, and a short progression you can practice anywhere. If you coach, the drill sequence near the end is ready to lift straight into a lesson plan.
Pedal Wheelie vs Manual: Know Which One You're Learning
These two skills look similar from a distance, but they're not the same movement, and confusing them is the first thing that slows new riders down.
A pedal wheelie uses pedal power to lift and hold the front wheel, so you keep pedaling the whole time while balancing on the rear wheel, which means gears, cadence, and rear-brake control all matter. Pedal wheelies are usually held for distance, and most "teach yourself to wheelie" videos online are showing this version.
A manual, by contrast, uses body weight alone to lift the front wheel, with no pedaling at all. You shift your hips back and drive your feet into the pedals, letting the bike's geometry and your own mass do the lifting. Manuals are shorter in duration but far more useful on a trail, because you can pop one out of any gear, at any speed, in the half-second between a root and a rock.
Both are worth learning, and most coaches recommend starting with the pedal wheelie, because the continuous pedal input makes the balance point easier to find. Once that balance sense is built, the manual becomes the harder but more trail-relevant skill to layer on top.
Before You Start: Setup and Gear
A few small setup choices make this process dramatically faster, so it's worth taking a minute to get them right before you start trying to lift the front wheel.
Pick a slight uphill or a flat surface; a gentle incline is ideal, because it gives you consistent resistance and acts as a natural speed governor. Avoid downhills, since you really don't need to be going faster while you're still learning to get the front wheel up in the first place.
Drop your saddle. Not all the way, but enough that you can sit without your hips being pushed forward, because a high saddle keeps your weight too far over the front and makes the hip shift almost impossible. Pick a gear you can pedal hard but not spin out (usually somewhere around the middle of your cassette), since too easy a gear won't generate enough lift and too hard a gear will cause you to stall mid-pedal stroke.
Cover your rear brake. This is the single most important rule on the list, because your rear brake is your safety net: if you lean too far back and feel yourself going over, a light tap on the rear brake drops the front wheel immediately. Learn this tap first, before you try anything else. A helmet goes without saying, kneepads help, and a grassy field or a quiet park path beats a driveway every time.
How to Pedal Wheelie
Start rolling at a comfortable pace (roughly walking speed is fine) in a gear where you can pedal hard without spinning out. As you push down on your dominant pedal, pull up on the bars and shift your weight back and down, all as a single simultaneous movement rather than a sequence, so the bars come up as the hips come back. Your arms don't need to yank the bars; most of the lift comes from the pedal stroke and the weight shift.
Keep pedaling. This is where most beginners stop, and stopping is exactly what causes the front wheel to drop, because the pedal wheelie is sustained by continuous pedal input. If you stop pedaling, gravity wins.
Finding the balance point is the part you can't rush, and you'll know it when you hit it, because the front wheel stops trying to come down and the bike feels suspended. Beyond that point you're going over backward; short of it, the front will drop. The balance point is a narrow zone, and you learn it by bracketing it, falling short, overshooting, and adjusting until your body finds it on its own.
Use the rear brake to bring the front wheel down if it comes up too fast or too high, because a quick dab lowers it immediately. This isn't optional, it's mechanical: rear-brake control is the key technique that unlocks everything else, and it's what keeps you off your back when you overshoot. To exit the wheelie cleanly, stop the pedal stroke smoothly rather than jerking forward, and the front will settle on its own.
How to Manual
A manual is a different motion entirely, because you're not pedaling at all; you're using body weight alone to lift and hold the front wheel through balance.
Start rolling at a faster pace than you would for a pedal wheelie, since you need momentum to carry you through the manual. Preload the bike by compressing the fork and rear slightly, pushing down through the pedals and bars, almost like loading a spring. Then shift your hips back and down while driving your feet forward and down into the pedals, in a motion that feels like pushing a heavy door closed behind you while sitting back into a chair. Your arms extend as your hips move back, and the front wheel comes up through the geometry of the weight shift, not through any pulling motion with the bars.
Finding the balance point is where manuals get difficult, because you're balancing entirely on the rear wheel with no pedal input to correct your position, so all your adjustments have to come from small movements in your legs (flexing or extending) and your arms (pushing forward or pulling back slightly). Your rear brake is still your safety, so keep covering it; if you get too far back, tap it. Most riders can hold a manual for a second or two when they first get it, and extending the duration takes weeks or months of practice, which is normal.
The Mistakes That Stall Most Riders
Pulling with the arms instead of lifting with the body. Yanking the bars up gets the front wheel about a foot off the ground and stops there, because the lift has to come from the hip shift and pedal stroke (for the wheelie) or the weight transfer (for the manual). Arms guide, body powers.
Not covering the rear brake. Every rider who has flipped over backward was not covering the rear brake, so learn the tap before you learn anything else.
Saddle too high. A high saddle blocks the hip shift and keeps your weight too far forward, so drop it a few inches when you're practicing.
Wrong gear. If the front wheel won't come up at all, you're probably in too hard a gear; if it shoots up uncontrollably, you're in too easy a gear.
Looking down. Your bike follows your eyes, so looking at the front wheel pulls your weight forward and drops the wheel. Look 10 to 15 meters ahead, the same way you would on any other trail feature.
The GSMBC 5 DRILL Progression
Skip trying to hold a full wheelie at first, and build the skill in layers instead. Here's the drill progression we use to break the skill down, the same shape you'll find inside our Intermediate Coach Course.
Drill 1: The pedal kick. Roll at walking pace, and on your dominant pedal stroke, push down hard while simultaneously pushing the bars forward and down, then pulling back and up. The goal is to get the front wheel to lift an inch or two off the ground, for half a second. Ten reps, each one focused only on that micro-lift.
Drill 2: The brake tap. Lift the front wheel exactly as in Drill 1, but this time tap the rear brake immediately to bring it back down, and repeat until the brake tap is automatic. This is your safety habit, and it's not something you should skip past in a hurry to get to the "real" wheelie.
Drill 3: The sustained lift. Extend the pedal wheelie to two full pedal strokes, keeping the pedals turning through the lift, and stop pedaling only when you want to bring the front down. Aim for 10 reps of two-pedal-stroke wheelies before you start adding more duration.
Drill 4: Finding the balance point. Once you can hold the front up for two or three pedal strokes, start chasing the balance point by letting the front wheel come up a little higher each rep. When you feel yourself starting to tip back, tap the brake. This is where the balance sense is built, by brackening the balance point repeatedly rather than trying to nail it on the first attempt.
Drill 5: The manual pop. Separately from the pedal wheelie work, practice the body-weight motion of the manual, starting either stationary or at very slow speed, and aiming for a brief front-wheel lift with no pedaling. Build the motion pattern first, before you try to balance on it.
Most riders need one to two hours of practice to hold a pedal wheelie for more than a few pedal strokes, while the manual takes considerably longer, often weeks. Both reward repetition more than anything else.
Coach's Note
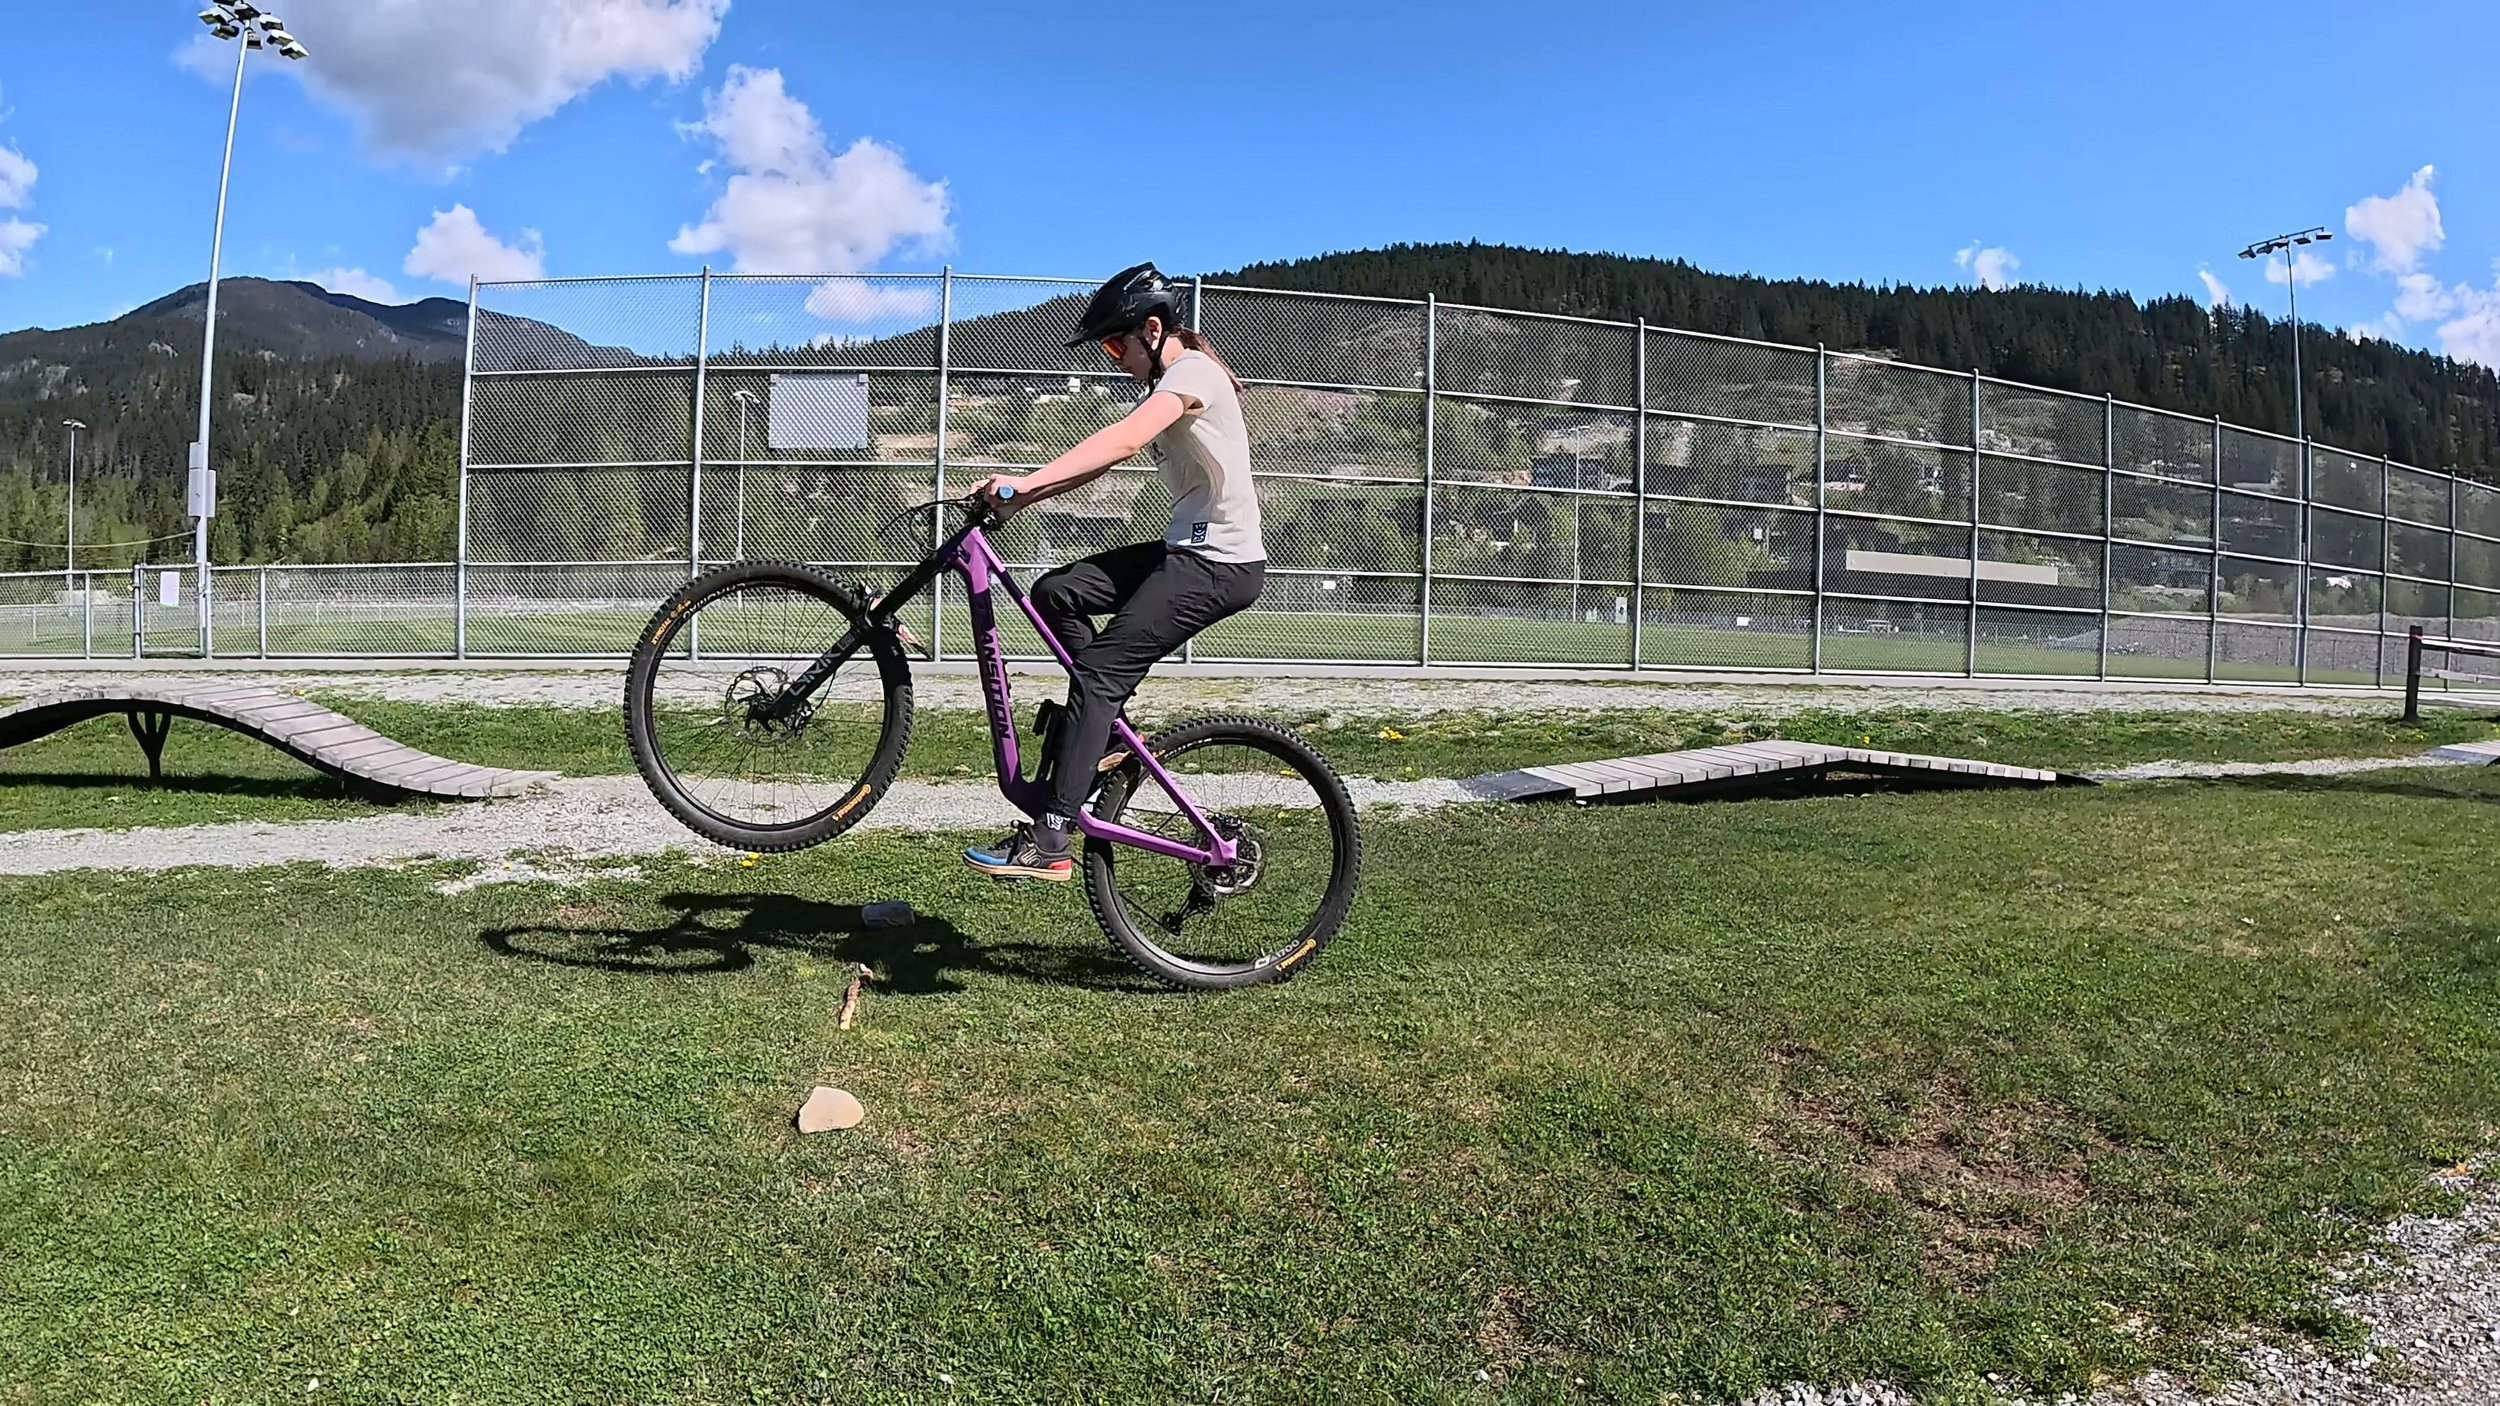
Wheelies can be learned anywhere - just some flat ground and you’re good to go!
The reason to teach wheelies isn't the party trick itself; it's what the skill builds underneath.
A rider who can wheelie on demand has internalized something most riders never fully learn: how to rebalance the bike by shifting weight, rather than by muscling the bars. That awareness transfers directly to root sections, rock gardens, and small drops, where the ability to lightly unweight the front wheel is the difference between smooth and scrambled.
If you're coaching, use wheelies as a teaching tool for body-bike separation, because many students will discover, through the process of trying to lift the front wheel, that they've been riding with stiff arms and locked hips, and fixing those two things improves every other skill they have. It's a drill we run early in our Intermediate Coach Course for exactly this reason. Start with the pedal wheelie, emphasize the rear-brake cover from the very first rep, and resist the temptation to let students skip to the manual before they've built the balance sense on the pedal wheelie. The manual rewards patience.
Frequently Asked Questions
How long does it take to learn a wheelie? Most riders can hold a pedal wheelie for two or three pedal strokes within one to two hours of practice, while holding it for longer distances (20 meters or more) typically takes several sessions spread across a few weeks. Manuals take longer, often a month or more of consistent practice.
What's the difference between a wheelie and a manual? A wheelie uses pedal input to keep the front wheel up, so you're pedaling the whole time, whereas a manual uses only body weight and balance with no pedaling at all. Manuals are shorter but more useful on a trail, because they can be done in any gear at any speed.
What gear should I be in to learn a wheelie? Somewhere around the middle of your cassette is a good starting point, because you want a gear that offers enough resistance to generate lift when you push down hard, but not so hard that you can't keep pedaling through the wheelie. Adjust based on your strength and the terrain.
Why does my front wheel keep dropping? Usually one of three reasons: you've stopped pedaling (the front drops without continuous input), you're looking down at the front wheel (your weight follows your eyes), or your gear is too easy (the pedal stroke isn't generating enough lift). Check all three.
Should I learn wheelies before drops and jumps? The body-weight-shift skill that wheelies teach is foundational for most advanced riding, so while you don't need to master full distance wheelies before trying drops or jumps, the ability to lift the front wheel on demand will make both feel easier. A short pedal wheelie and a basic manual are reasonable prerequisites for most intermediate trail features.
Can I learn to wheelie on any mountain bike? Yes, though hardtails are often easier because you don't lose energy into the rear suspension on the pedal stroke, whereas full-suspension bikes can feel softer at the balance point (which some riders find easier and others find harder). Bike size matters more than bike type, because a bike that's too large makes hip-shifting difficult.
Take It Further
Wheelies and manuals open the door to the rest of the technical skill set, and our Intermediate Coach Course is where coaches go to build the full progression behind every drill in this guide.
If you're a rider who wants to go deeper, or a coach looking to build the credential, a free GSMBC Membership gives you access to our Reference Guide, webinars, and coaching frameworks. Join for free at:https://gsmbc.pro/member-benefits