
ESSENTIALS: How to Corner - Stability and Balance (INCLUDES 5 DRILL PROGRESSION)

This is part of GSMBC Essentials, a series answering the questions riders ask most often online. Each entry takes a common topic, breaks it down in plain language, and gives you a clear, practical reference you can put to use the next time you ride. Built on coaching fundamentals. Written for anyone with a bike.
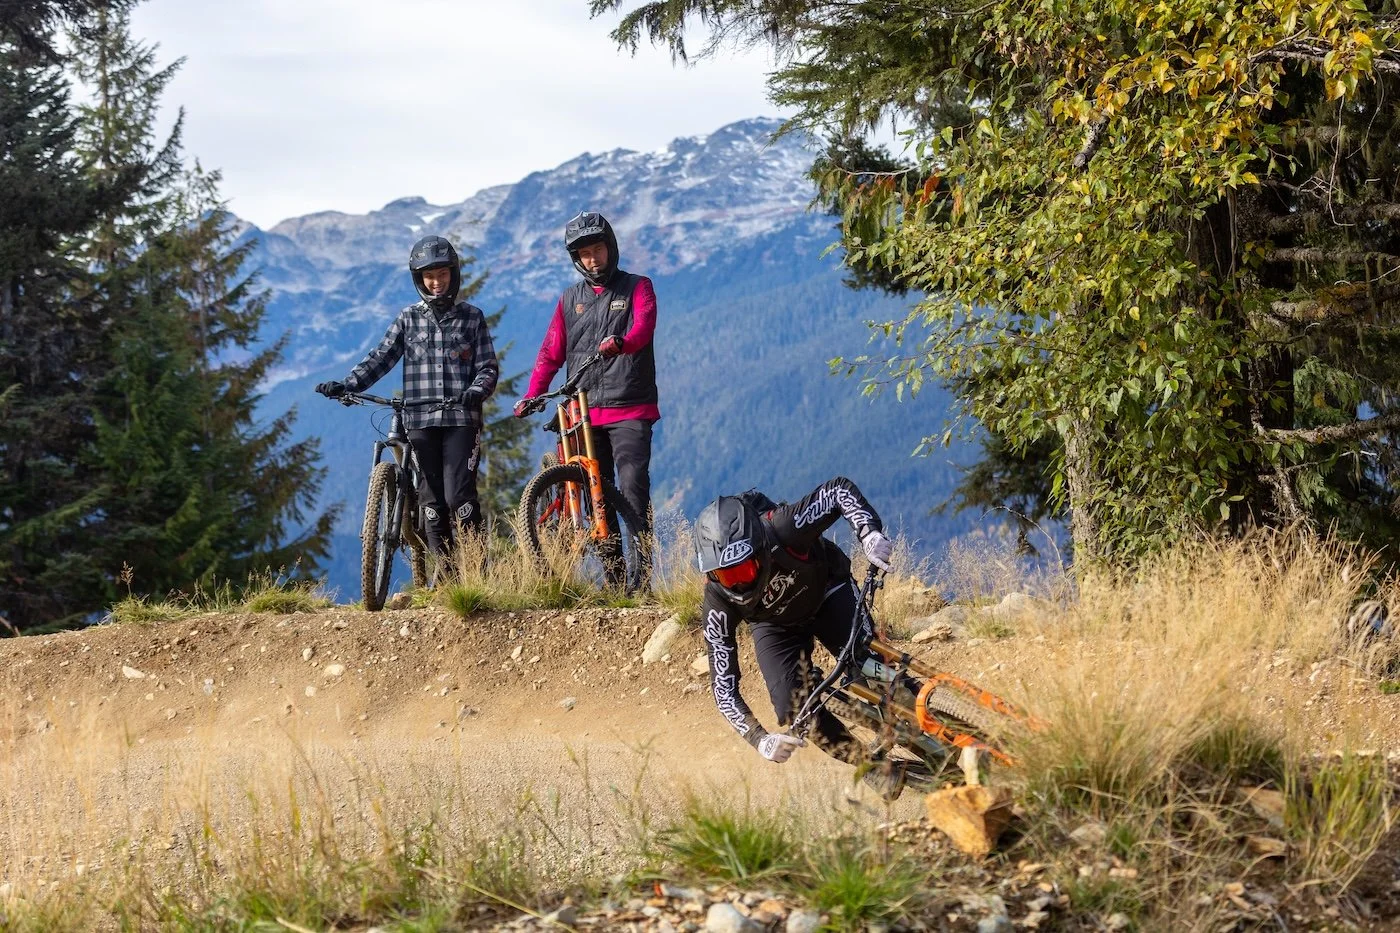
Cornering is not just about getting lower.
In fact, one of the most common problems riders develop is getting too low, too often, and staying there regardless of speed, terrain, traction, or the type of corner. A lower position can be useful, but it is not automatically stronger, faster, or more stable.
For GSMBC coaches, this is an important shift.
We should be encouraging riders, including advanced and expert riders, to corner from a taller, stronger, more efficient position whenever the trail allows. Riders should only get lower when they need more range of movement, more room to adjust, or more bike-body separation.
The goal is not to be tall all the time, but rather to stop treating “get lower” as the default answer.
Good cornering comes from managing position, strength, balance, fatigue, range of movement, and the forces acting on the rider and bike.
Stability Is About Resisting Forces
Stability is the rider’s ability to resist forces and maintain strength, support, and control.
In cornering, those forces can be significant. The rider may need to manage compression in a berm, pressure through the tyres, braking forces, rough terrain, traction changes, or the bike accelerating underneath them.
A common assumption is that getting lower always makes the rider more stable. Sometimes it does. But not always.
A taller, more stacked position can often be stronger, especially in high-speed berms or situations where the rider is dealing with heavy compression. When the rider’s skeleton is more aligned, they can use their bones to help resist force rather than relying only on muscular effort.
This matters because muscles fatigue.
A rider who is very strong may be able to hold a low, muscular position for longer. But many riders, even skilled riders, will become tired, stuck, or less responsive if they stay too low for too much of the trail.
A stacked skeleton is often better at resisting sustained forces than tired legs.
That does not mean the rider should be stiff or locked out. It means they should use enough skeletal support to stay strong, while keeping enough softness in the joints to remain mobile and balanced.
Taller Can Be Stronger, Not Just More Efficient
Riding taller is often talked about as a way to save energy, and that is true. On mellow terrain, smoother trails, or less demanding sections, a taller position reduces unnecessary muscular effort. The rider can stay centred, relaxed, and mobile without burning energy they will need later.
But taller is not only about saving energy; in some high-force situations, a taller and more stacked position can actually help the rider stay stronger.
Think about a high-speed berm, for example. The rider is not just trying to “get low.” They are trying to resist compression, maintain support, and keep pressure through the bike without collapsing.
If the rider is too low before entering the berm, they may have little room left to manage the compression. Their legs are already flexed, their muscles are already working hard, and they may get pushed deeper into the bike. From there, they can become stuck, heavy, and slow to adjust.
A slightly taller, more stacked rider may be better able to resist that force, maintain structure, and stay strong through the turn.
This is a key coaching point:
Taller is not just beginner technique.
Expert riders also need to use taller positions when speed and forces are high, especially when the terrain is predictable and the corner provides support.
Getting Lower Is a Tool, Not a Default
Getting lower is still important. Riders need to get lower when the trail demands more range of movement, more balance adjustment, or more bike-body separation.
This often includes:
rougher terrain
unpredictable terrain
flatter corners
loose or off-camber corners
slower technical turns
situations where the rider needs to angulate more
situations where the rider needs to twist, adjust, absorb, or recover
In these situations, getting lower gives the rider more room to move. It allows them to separate the bike from the body, lean the bike underneath them, manage traction, and make adjustments when the trail is less supportive.
But getting lower should be purposeful.
The rider should not lower automatically just because they are cornering. They should lower because the corner requires more movement, more adjustment, or more control over bike-body separation.
A flatter corner may require the rider to get lower so they can rotate or angulate more effectively.
A loose corner may require more range of movement so the rider can manage traction and recover if the bike slides.
A rough corner may require more room to absorb, extend, and stay balanced as the bike moves underneath them.
That is very different from simply telling every rider to “get low.”
Position, Bones, Muscles and Fatigue
A rider’s position is only one of a number of key components that affects how they manage stability.
When the rider is more stacked, they can use their skeletal structure to support more of their body weight and resist forces. This can reduce the demand on the muscles and help the rider stay stronger for longer.
When the rider gets lower, the joints become more flexed. This often increases muscular demand, especially through the legs, hips, trunk, shoulders, and arms. That may be exactly what the rider needs for a short, technical, or unpredictable section, but it has a cost.
If the rider stays low all the time, fatigue builds.
As fatigue builds, stability often decreases. The rider may start to collapse, drift rearward, grip harder, brake more, or lose the ability to make clean adjustments.
This is why “low” can become a trap. A rider may look athletic, but they may not actually be strong or mobile from that position anymore.
They may be surviving rather than driving.
For coaches, this is where observation matters. We need to ask whether the rider’s position is helping them resist forces and move with purpose, or whether it is making them tired, stuck, and reactive.
Stability and Balance Are Different
Stability and balance work together, but they are not the same thing.
Stability is the ability to resist forces and stay strong.
Balance is the ability to manage instability and recover when stability is challenged.
A more stable rider usually needs fewer big balancing corrections. They look calmer because they are not constantly saving themselves.
A less stable rider often looks busy. They may be making lots of corrections, but many of those movements are late, reactive, and inefficient.
This is why getting lower is not always the solution.
If a rider is low but tired, collapsed, or stuck, they may actually be less stable and more reliant on balance reactions. They are not managing forces early. They are recovering late.
A taller, stronger position may allow them to resist the forces more effectively in the first place.
Then, when the trail becomes unpredictable, flatter, rougher, or less supportive, they can get lower to create the range of movement needed to balance, adjust, angulate, or recover.
Coaching Cornering WITH MOBILITY ViA WHEN & HOW MUCH
For GSMBC coaches, a useful coaching direction is:
Teach riders to corner through movement as opposed to ‘in a position’.
This applies to all levels, including expert riders.
WHEN TO BE TALLER: On larger (bigger radius = more gradual direction change), smoother, more predictable turns — especially berms — riders may benefit from staying taller, more stacked, and stronger. This allows them to resist forces through better structure instead of relying only on muscular effort.
WHEN TO GET LOWER: On smaller (tighter radius = quicker direction change), flatter, looser, rougher, or more unpredictable turns, riders may need to get lower so they can create more angulation, twist through the body, move the bike underneath them, and make quicker adjustments.
HOW LOW SHOULD I GO? This is actually a trick question - because it depends on the corner. It’s all about experience, mobility and finesse… tall enough to keep some efficiency and strength through the skeleton, while low enough to allow for more stability and range of movement… While staying mobile so you can continue to move and adjust as needed through the turn… remember, we’re not trying to ‘stay’ in a ‘position’.
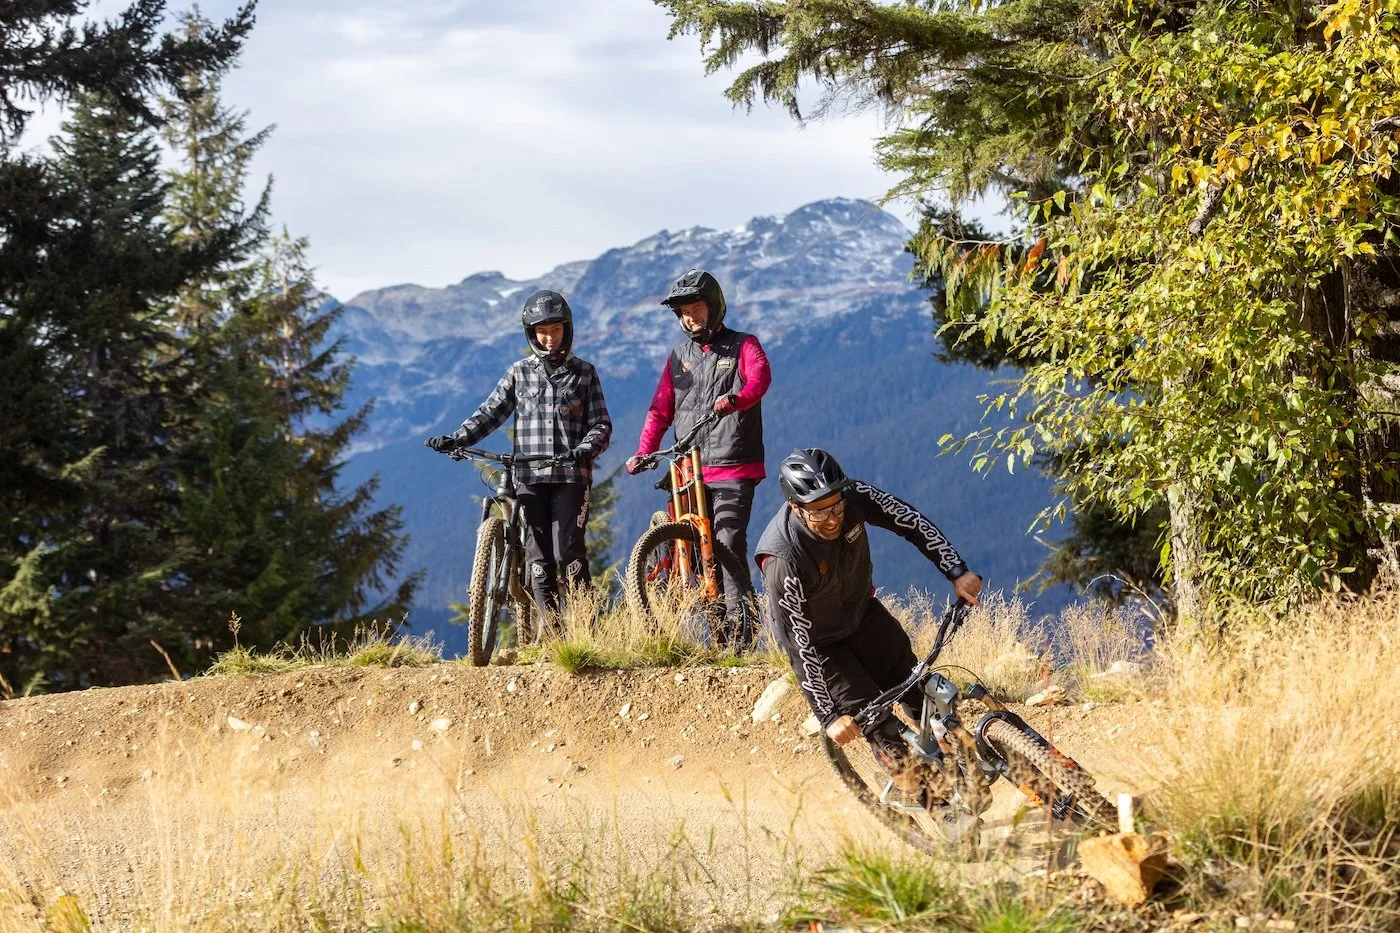
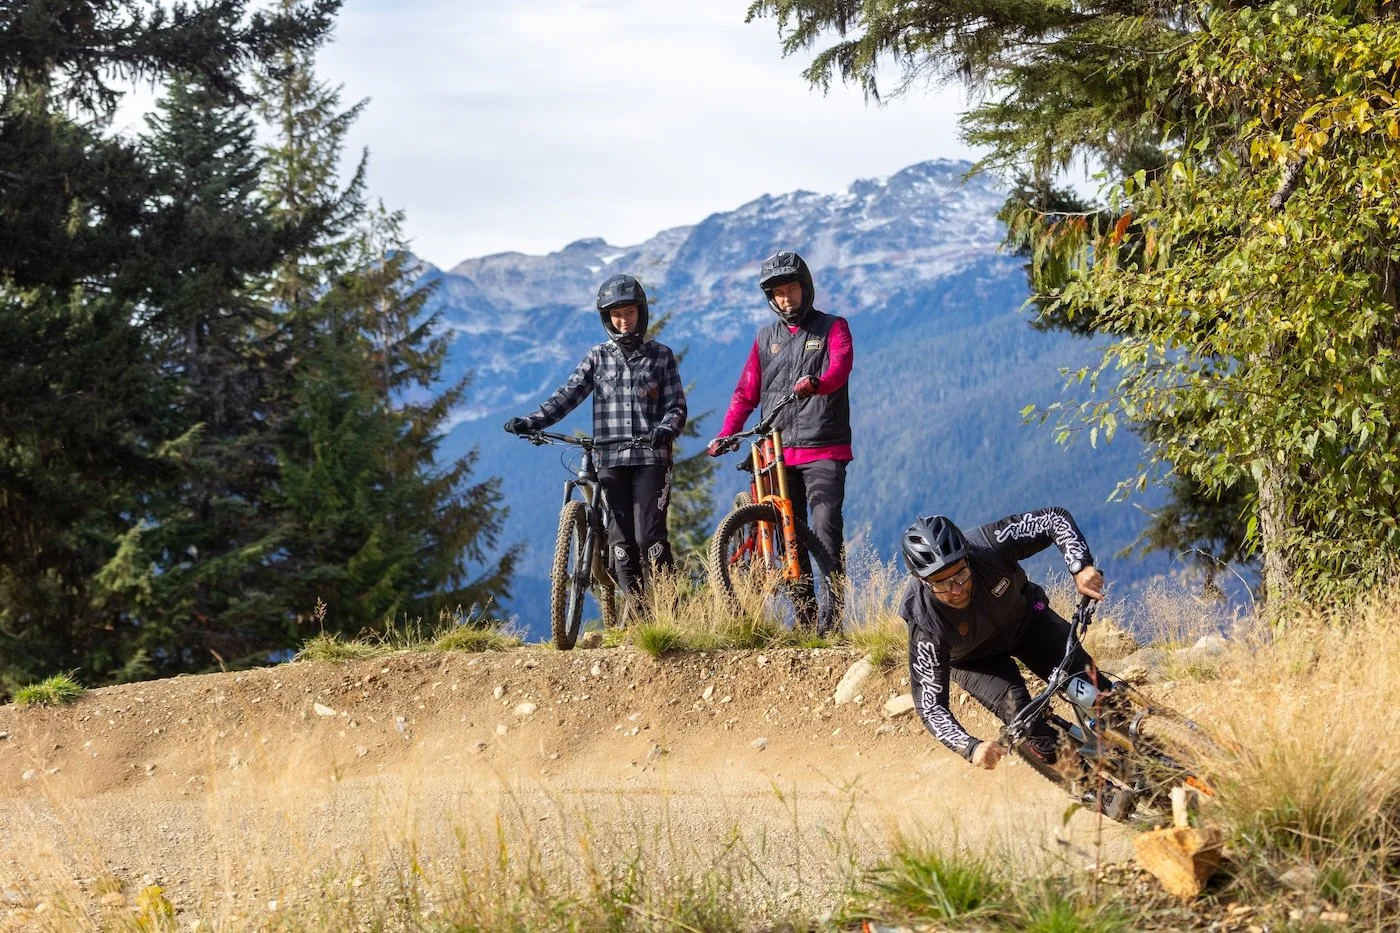
Same corner, same part of the corner - but three slightly different ‘positions-in-the-moment’ based on the rider speed and desired outcomes.
5 DRILL PROGRESSION
Finding the sweet spot comes from experience but a coach can help speed up the process with some simple compare and contrast drills. But first, find an isolated corner (a ‘C) or two linked corners (an ‘S’) that are easy to session (repeat) without blocking or walking up the trail:
Ride through the section in taller and lower positions
Start tall, get lower through the corner
Start low, get taller through the corner
Start vertically ‘in the middle’ and feel if you need to get lower or taller from there.
Repeat on a variety of corners, based on speed, size (radius), and shape (bermed or flat)
These simple drills will help a rider feel both the mobility through a corner, while understanding when taller and lower feels more ideal… especially when using a ‘pro’s and con’s’ approach, rather than ‘right or wrong’.
This trial and error helps build the rider’s experience to help them adapt and make better decisions, improving their stability through movement, moving forward; giving riders a more complete toolset.
Adding some video analysis can help develop a rider’s self awareness to form a better understanding of how much they move and how tall or low they actually are through corners.
Coaching Takeaway
Cornering improves when riders stop holding one automatic position and start adapting to the trail.
For GSMBC coaches, the message is simple: Be careful of teaching “get low” as the default.
Teach riders to understand when taller is stronger, when lower is more useful, and how to prioritise the feeling or movement and mobility to move between the two.
That is a better way to coach cornering: stronger, more efficient, more adaptable, and more connected to what the trail actually requires.
If you're a rider who wants to go deeper, or a coach looking to build the credential, a free GSMBC Membership gives you access to our Reference Guide, webinars, online course education and coaching frameworks.
Join at: https://gsmbc.pro/member-benefits