Essentials: How to Ride Drops on a Mountain Bike
This is part of GSMBC Essentials, a series answering the questions riders ask most often online. Each entry takes a common topic, breaks it down in plain language, and gives you a clear, practical reference you can put to use the next time you ride. Built on coaching fundamentals. Written for anyone with a bike.
Drops carry an outsized reputation for a feature that - mechanically - can be one of the more predictable things on a trail… if we take the right approach. The front wheel leaves the edge first and starts to fall while the rear wheel is still rolling along the top surface. The longer the gap between the front wheel leaving and the rear wheel leaving, the further the front falls in the meantime, and the more the bike rotates forward. That rotation is the nose dive, and every piece of drop technique we teach exists to manage it. Once you understand that, drops stop being a courage problem and become a timing and coordination problem, which can be practiced.
This article covers the physics, the three tools we teach for controlling the trajectory of the bike off a drop, and a four-drill plan you can build on a drop the height of a curb.
TL;DR
not a reader? We included a video at the bottom of this article
A bike nose dives off a drop because the front wheel leaves before the rear, and everything in drop technique manages that gap. Press to keep the bike level, absorb to keep the rear wheel from loading on the edge, poke to close the gap, and blend the three based on speed, size, shape, and where you want to land. Speed reduces nose dive but buys airtime, and the right mix of skills sets you up for success.
The Physics: One Gap, Measured in Wheels
Picture the moment the front wheel rolls off the edge. Gravity starts pulling it down immediately, but the rear wheel is still supported, still driving the bike forward along the upper surface. For as long as that situation lasts, the bike is rotating forward around its rear wheel. Two main things decide how much rotation happens: how long the gap is (in time) between the two wheels leaving the lip, and what you do with your body before and during the ‘nose dive’.
Speed is the first variable, and it works in your favour (to a point). The faster you're moving, the less time passes between the front wheel leaving and the rear wheel leaving, so faster speeds mean less nose dive on the same drop. But speed isn't free: more speed also means more airtime and a landing further out, so "just go faster" can often be a trade-off rather than a complete solution.
The Three Tools: Press, Absorb, Poke
A point we're careful to make on our courses: these are not a sequence you run identically off every drop. They're three separate tools, blended in different combinations and different amounts depending on your speed, the size and shape of the drop, and what you want to happen, whether that's staying low and landing early or taking more air and landing further out.
Drops are dynamic, and there's no one-size-fits-all recipe.
The Press is a subtle move to unweight the bike just before the front wheel leaves the lip (edge) of the drop. By pressing into the bike just before the lip and letting that pressure release, you make the bike light at the moment it matters, which keeps it level as the front wheel leaves. The press has a second job people miss: it activates your muscles, so you're primed to absorb and to lead the bike ahead rather than reacting late. At higher speeds the press often shrinks or disappears entirely, because extra height is the last thing you need when you're already carrying enough speed to either reduce nose dive and/or clear the distance from drop to landing that is more common with high speed drops.
The Absorb protects you from the rear wheel's moment of betrayal. As soon as the front wheel is in the air, your weight can load the rear wheel, and a loaded rear wheel can hang up on the edge of the drop, pitching the bike forward quickly. A quick absorption, flexing the knees so your hips drop, takes the pressure off the rear wheel at the same moment the front leaves. When you're absorbing without a press (for more advanced drops that are larger and/or at higher speeds), the technique changes: you need to approach centred on the bike with tall hips, so your legs have room to flex quickly when the moment comes.
The Poke closes the ‘gap’ itself. By extending your arms and "pushing" the bike forward off the edge, you accelerate the bike ahead, shortening the time difference (the gap) between the two wheels leaving. A shorter gap means less time for the front wheel to fall, which means less nose dive and a more level, controlled flight.
An important note - the direction of the poke should match the angle of the landing. Think of it like guiding the bike into the flight path you need so the wheels land at the same time. Try to avoid poking horizontally forward - this can result in more of a ‘manual’ off the drop which is the last thing we need as this often loads the rear wheel with energy, prompting the bike to suddenly rotate forward off the drop.
The poke also has a body-position prerequisite: it only exists if you approach with bent elbows and low shoulders, because you can't extend arms that are already straight.
Speed Changes the Recipe
At slower speeds, the wheel gap is long and nose dive is the threat. This is where the press and absorb become more significant, unweighting the bike and keeping it level before the rear wheel leaves, with the poke closing the remaining gap. This combination is the heart of riding slow, technical drops where speed isn't available.
At faster speeds, the gap is short and nose dive mostly handles itself, but now you have airtime to manage and a landing zone to hit. Reducing or removing the press keeps the bike low so you don't overshoot, and the work shifts to a dynamic absorb from tall hips paired with the poke. Same drop, same rider, different recipe, and neither version is more correct than the other.
The critical Note
When we train coaches to teach drops, the emphasis isn't on memorizing a ‘one-size-fits-all’ technique, it's on reading the drop: the speed available on approach, the size from lip to landing, and the shape, whether it's flat to flat, flat to down, or down to down. Those three variables decide what blend of press, absorb, and poke, a given drop is asking for and that's exactly why we can't hand riders a single rigid formula.
The Drill Progression
The order here is deliberate: absorb first, because it's the safety tool that stops the rear wheel hanging up on the edge; the press second, to shape the bike's trajectory; the poke last, because it asks for the most coordination; then speed, to learn how the three blend. Build all of it on a small drop, curb height or close to it, with a smooth, clean rollout. Everything below scales up later; the thinking stays the same. Roughly speaking, drops under two feet are the territory where these fundamentals get built, and they deserve more repetitions than most riders ever give them.
1. Feel the absorb. Roll your small drop at an easy, steady speed, and focus on one thing only: flexing your knees so your hips drop just as the front wheel leaves the edge. You're taking the weight off the rear wheel at the moment the front goes light. Repeat until the rear wheel stops feeling like it's catching or kicking on the way off.
2. Add the press. Approach the same drop and press into the bike just before the lip, letting the pressure release as the front wheel leaves. Feel the bike stay level under you instead of tipping forward. Keep it subtle; the press is a small move, not a leap.
3. Add the poke. Approach with elbows bent and shoulders low, and as the bike leaves the edge, extend your arms and push the bike ahead of you. Watch what happens to the nose dive; this is the tool that closes the wheel gap directly, you'll feel the bike level out the first time you try it.
4. Change the speed. Same drop, three speeds. Slow, with a full press, absorb, and poke. Moderate, with everything dialled back. Then a touch faster, shrinking the press and absorbing from taller hips. You're not looking for the best run; you're feeling how the same drop asks a different question at each speed, and how the blend changes to answer it.
Frequently Asked Questions
Do I pull up on the bars as I leave the drop?
What we teach is different from a pull. The press unweights the bike so it stays level as the front wheel leaves, and the poke then pushes the bike forward off the edge. The bike stays level because the wheel gap got managed, not because the front got hauled upward. Riders who pull up tend to get a bike that's level for a moment and then awkward in the air.
What size drop should I learn on?
Curb height, more or less, with a clean rollout, and for longer than your ego prefers. Drops under about two feet are where the fundamentals get built, and the blending of press, absorb, and poke you learn there is the same one you'll use when the drops get consequential. Size changes the stakes; it doesn't change the skill.
Why does my bike nose dive off drops?
Because the front wheel leaves the edge before the rear wheel does, and it starts falling while the rear is still rolling on the top surface. The longer that gap, the more the bike rotates forward. Slower speeds make the gap longer, which is why nose dive is mostly a slow-speed problem, and why the press, absorb, and poke techniques exist.
Can't I just hit drops faster?
Speed does reduce nose dive, because the rear wheel leaves the edge sooner after the front. But it costs you airtime and carries you further from the drop, so it's a trade, not a fix. Riders who rely on speed alone tend to struggle on slow, technical drops where speed isn't available. The tools work at every speed; speed only works at speed.
Take It Further
Drops sit at the intersection of pressure control and timing, two of the six riding skills in our framework, and the press, absorb, and poke model in this post comes straight from how we train advanced coaches to teach the maneuver.
A free GSMBC Membership gives you access to our reference guide, webinars, and the coaching frameworks we publish. If you want to take this further, our courses cover drops and the rest of the six skills in the same level of detail, and our Intro to Air supplemental course is the natural next step from this post. Start with the membership at https://gsmbc.pro/member-benefits, or look at the course schedule at https://gsmbc.pro.
Prefer to watch a Video?
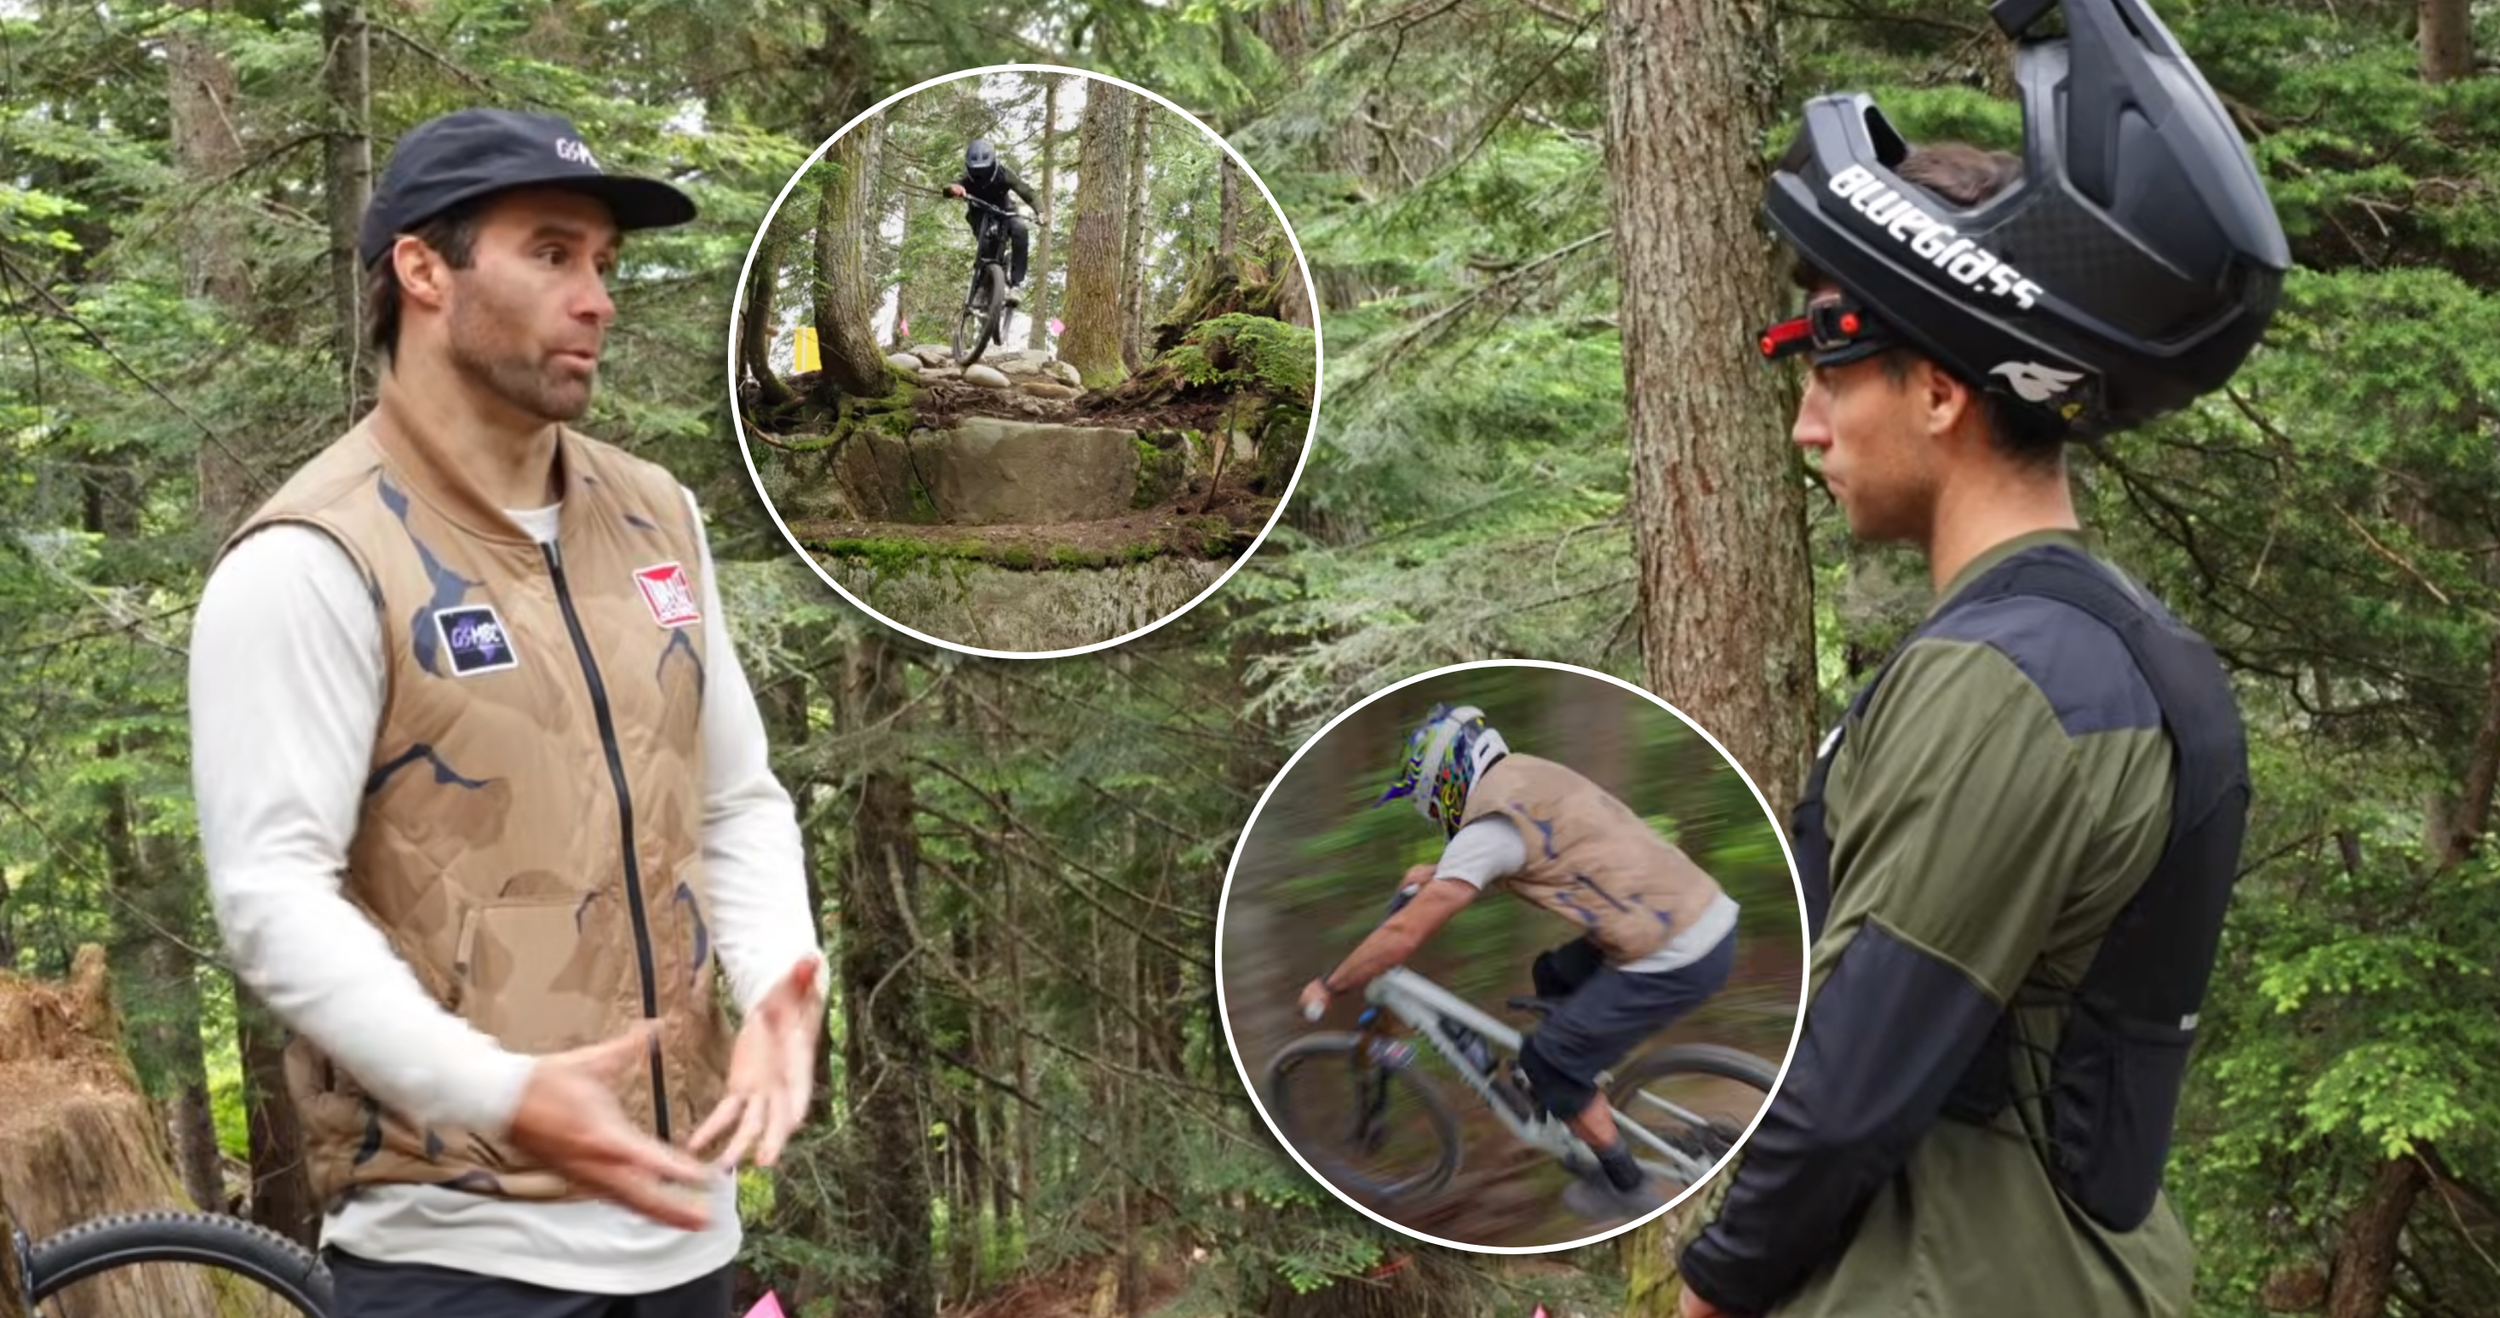
GSMBC Mentor and Coach Ross Dunlops works on drops with Rémy Métailler in this video below.